Can I have Spring without Spring Cleaning?

CVS provided my with Total Home products to facilitate my review. And I was like, SO EXCITED about it, because, you guys – it’s CVS! But all opinions and dumb jokes are totally my own.

Disney princess e card


After suffering through this terrible, horrible, no-good, very bad freaking eternal winter, I am happy to report that I have emerged alive and kickin’. The kids and I are finally enjoying getting outside and not wincing in pain from sub-zero winds every time we exit the house. WHEE! So we are pretty darn happy about SPRING!!! See?

sophie in spring

Unfortunately, along with spring comes the dreaded spring cleaning. For someone like me, aka the Worst Housekeeper Ever, any kind of cleaning is a pain, but a large undertaking like spring cleaning can be a nightmare. Because you see when you’re not all that, um….consistent at cleaning in general, things tend to build up! With three kids, one of them being a very busy three-year-old tornado mess-maker, cleaning can often be very defeating. As soon as I clean, it’s messy again. I’m like the “Time to Make the Donuts” guy. I clean in the morning while Jonah’s at school, and by the time my husband gets home from work, you can’t even tell I did a thing.  And it’s time to start all over again. Grr.

CVSClean4
Exhibit A: The floor under Jonah’s chair after lunch. Every. Day.

With this constant dirt-y-fying, I often need real motivation to get started cleaning. Last week I got a really good one – a big box of Total Home cleaning products from CVS! Yay! Since as you all know, I L-O-V-E CVS, I actually did get a little excited!

CVSClean5
I’m so excited! And I just can’t hide it!

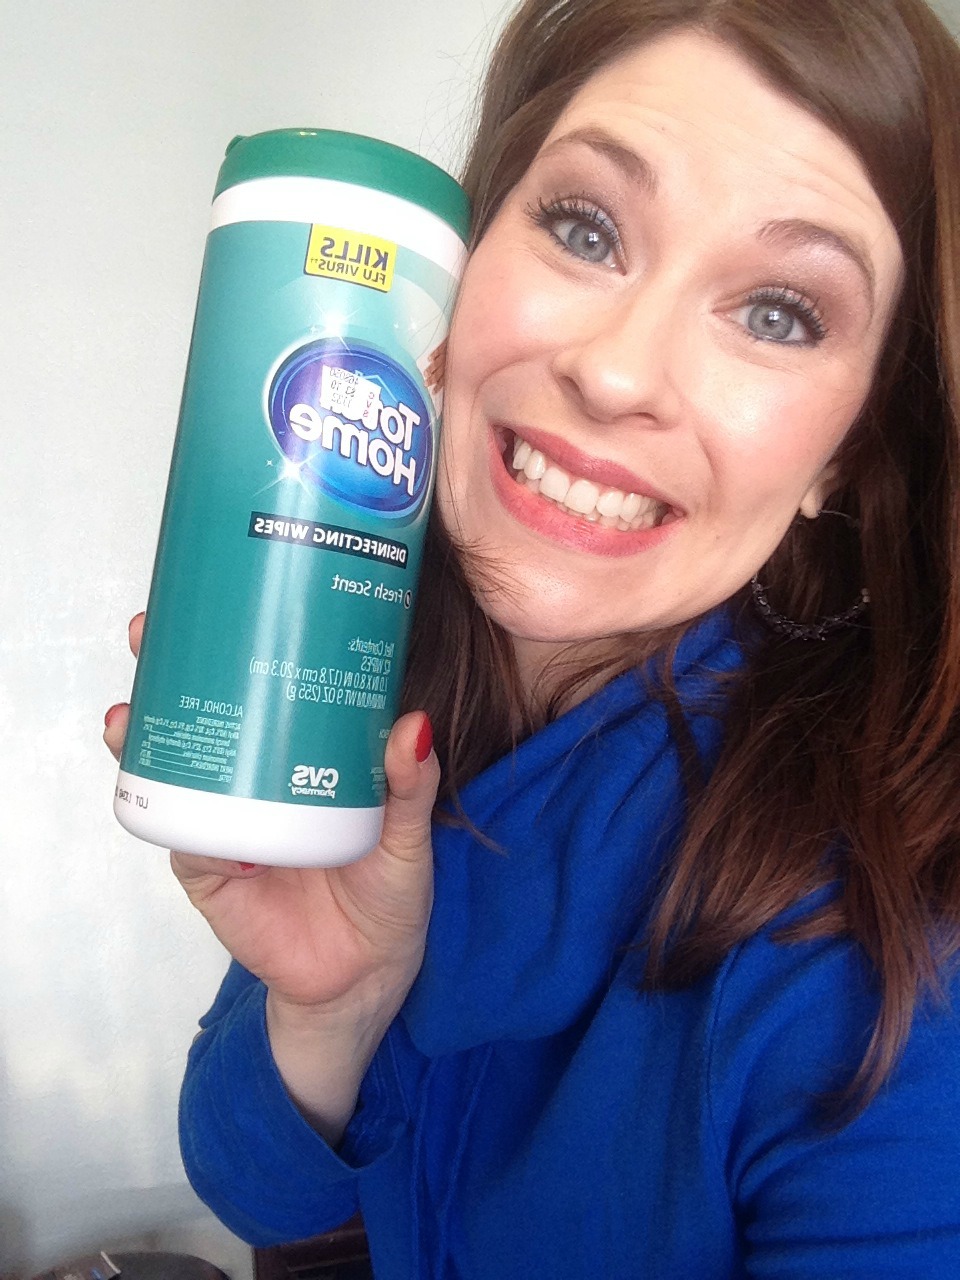
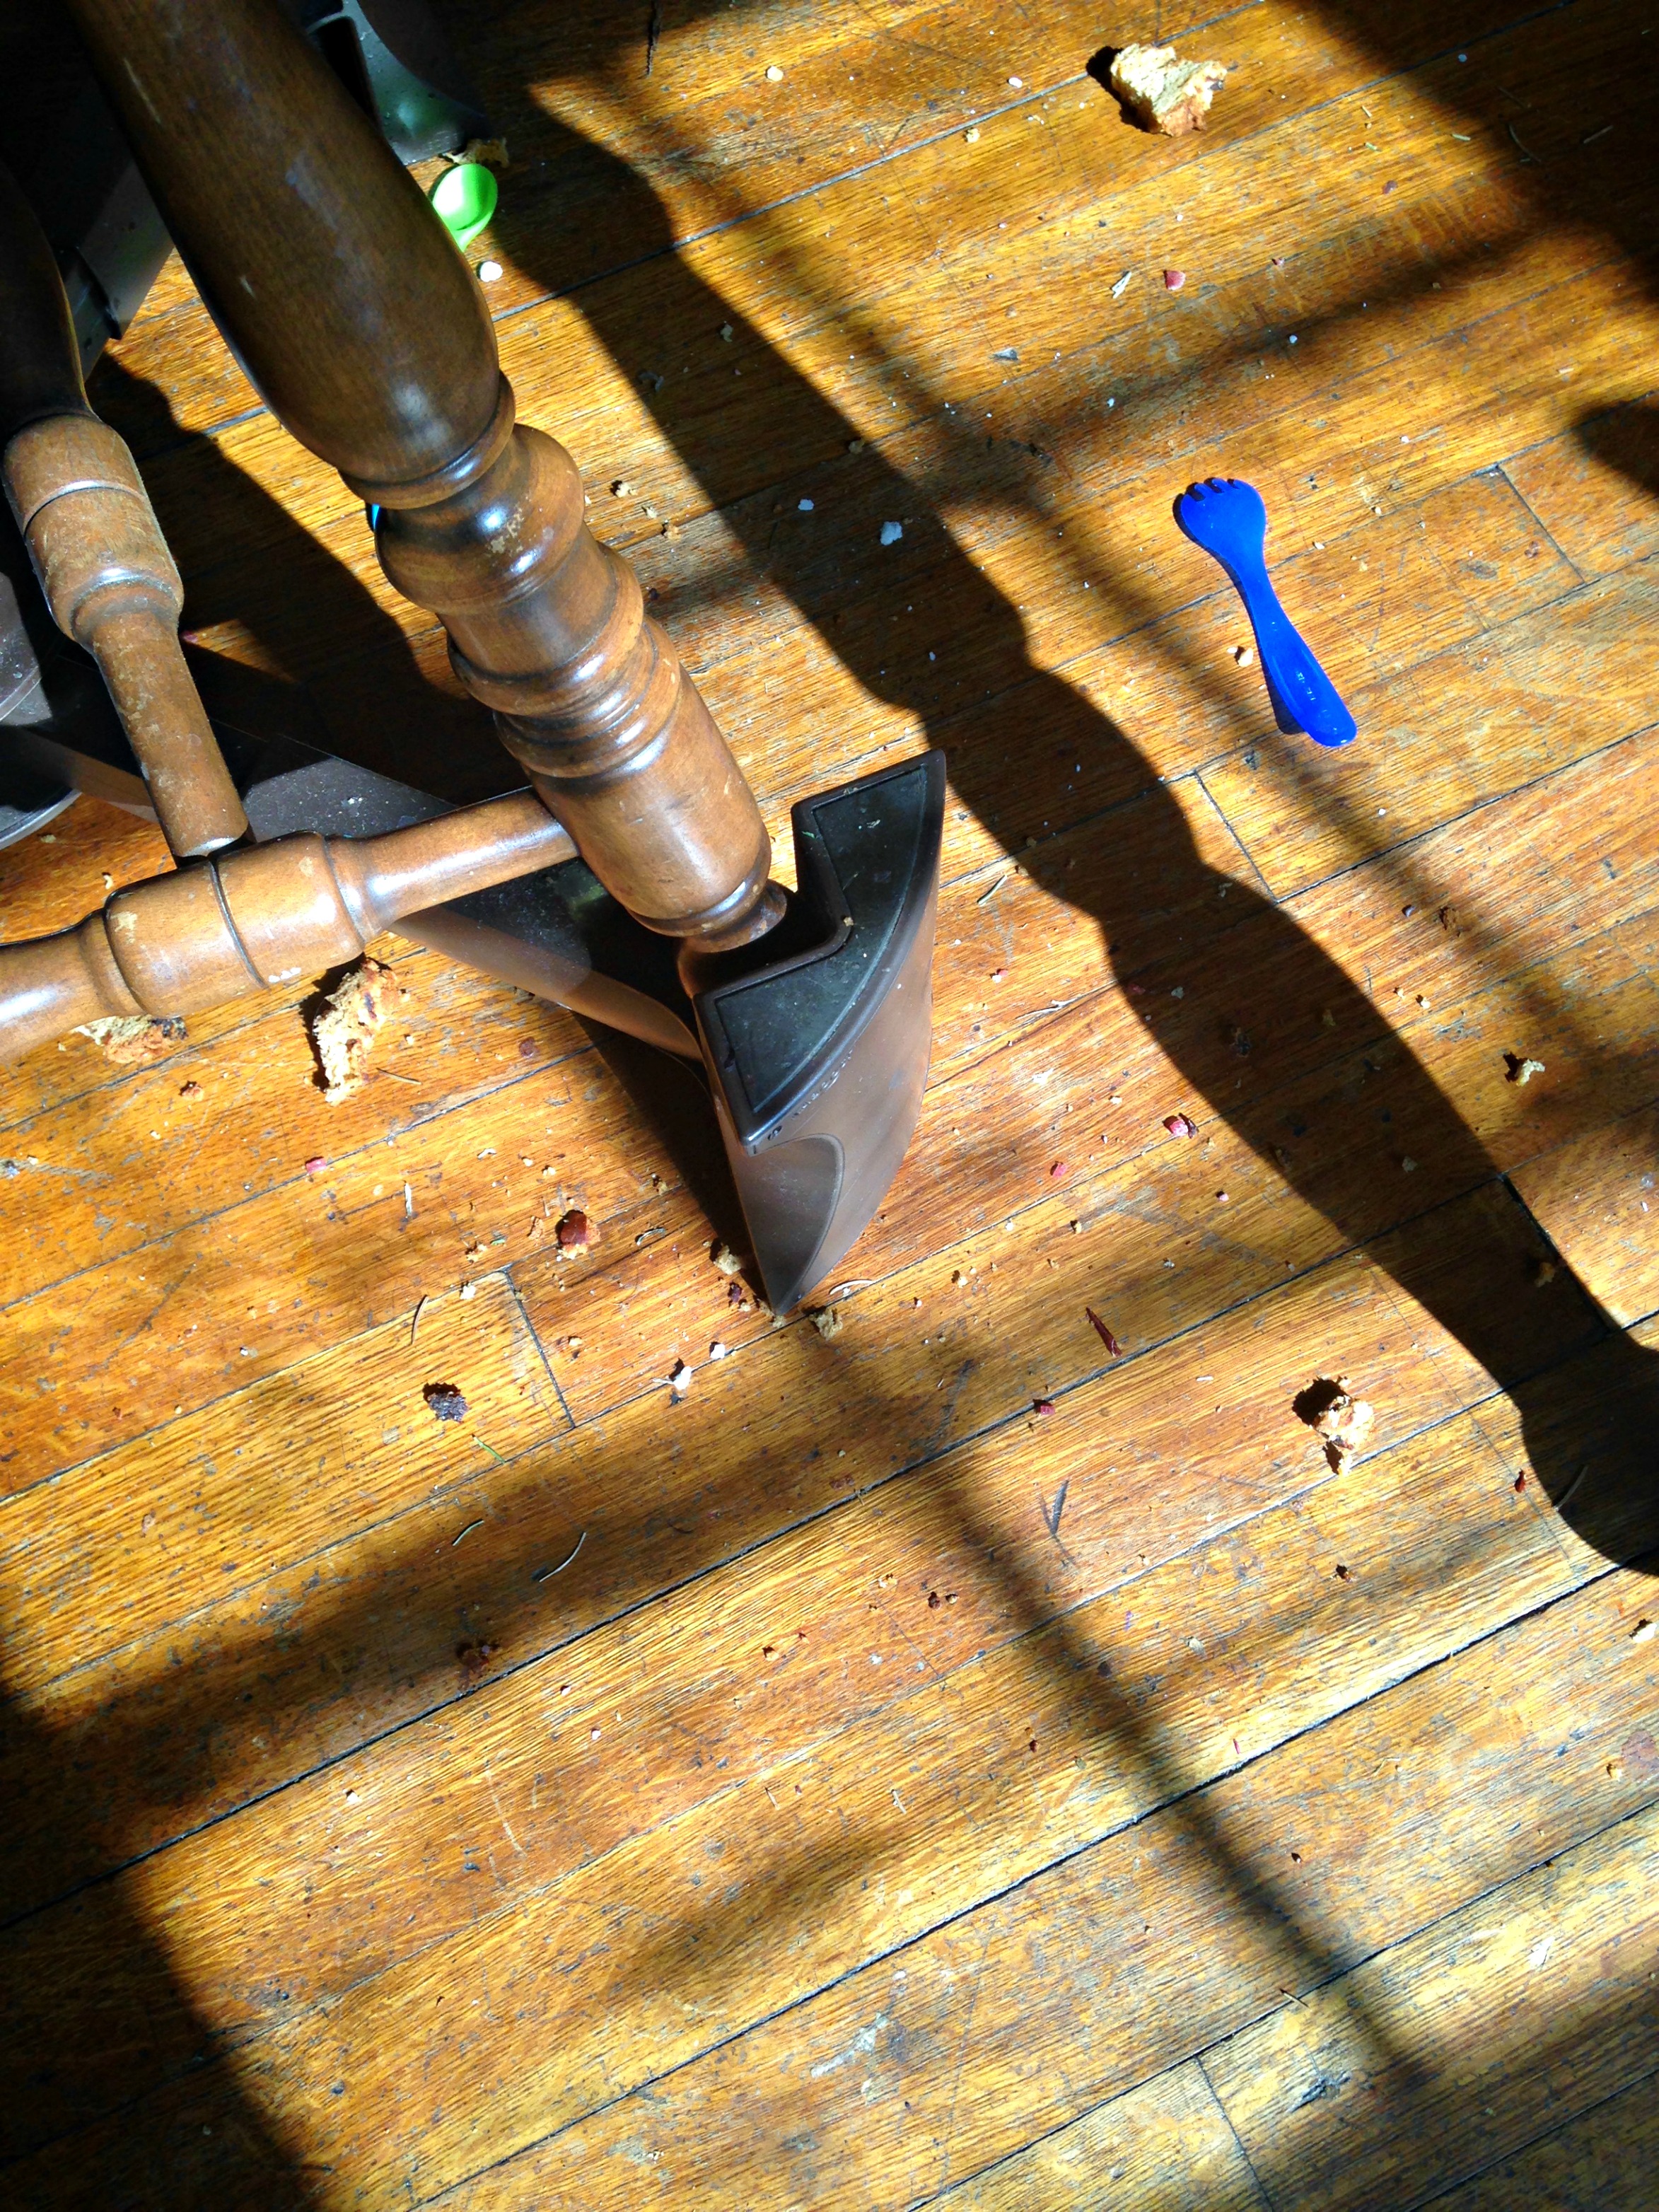
Earlier this week when Jonah was at school, I put Pharrell Williams'”Happy” on repeat and got to cleaning. I started with Total Home Disinfecting Wipes on my dining room table, (they did a fabulous job of getting rid of all the sticky residue that Jonah manages to leave behind) and then I swept and  mopped my hardwood floors.

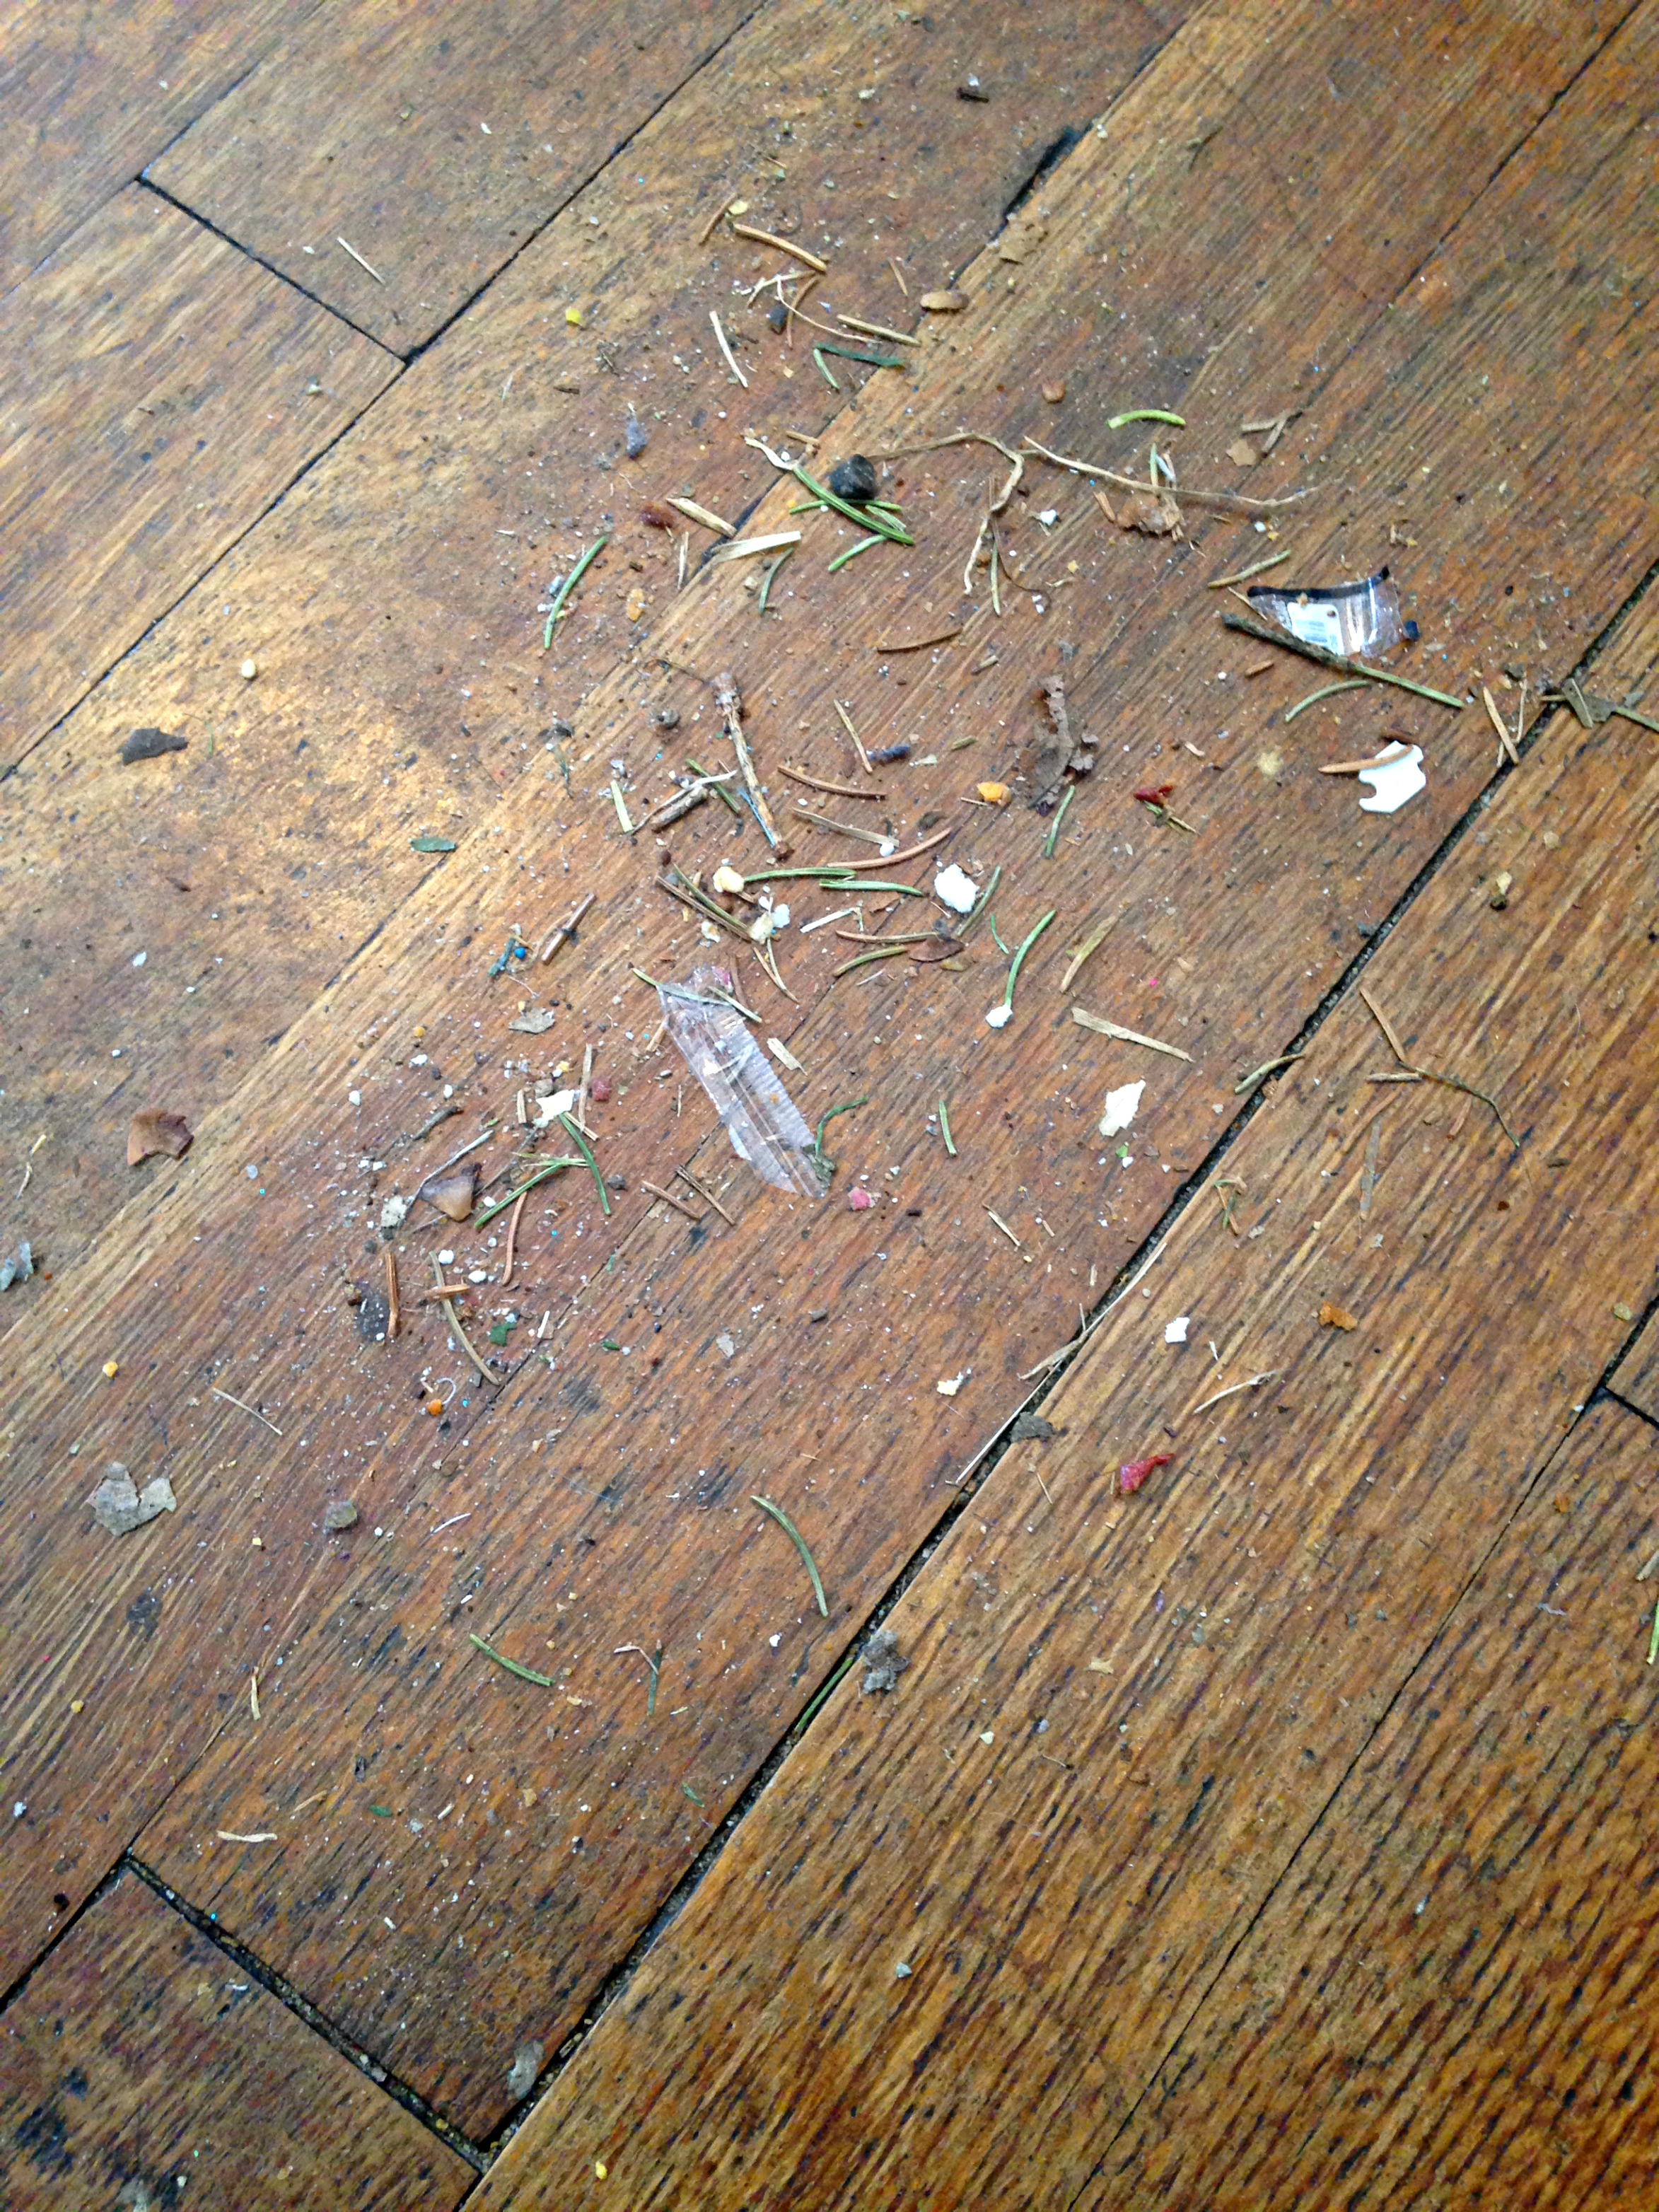
The cleaning challenge I have with my hardwood floors is two-fold: 1) they are 97 years old and so there’s a lot of dirt in there, despite the fact that they are in good shape and 2) We have three giant pine trees in our yard (probably also 97 years old!) and there are constantly pine needles EVERYWHERE in the house. They come in on our shoes and there’s not much we can do about it except sweep them up.

CVSClean6
Exhibit B. To add insult to injury, my house doesn’t even smell like pine!

Something that really helps with this plethora of pine needles is my Swiffer Sweeper. It’s the vacuum cleaner-kind, and when I am done sweeping and mopping it helps me get the rest of the dirt and hidden pine needles. This cleaning session, I tried out the CVS Total Home Dry Sweeping Cloths to go on my sweeper and they worked GREAT! Every bit as well as the name brand, if not better. I was super, super impressed with the quality and performance!

CVSClean1
Exhibit C. See all those pine needles? And um, DIRT!?!?

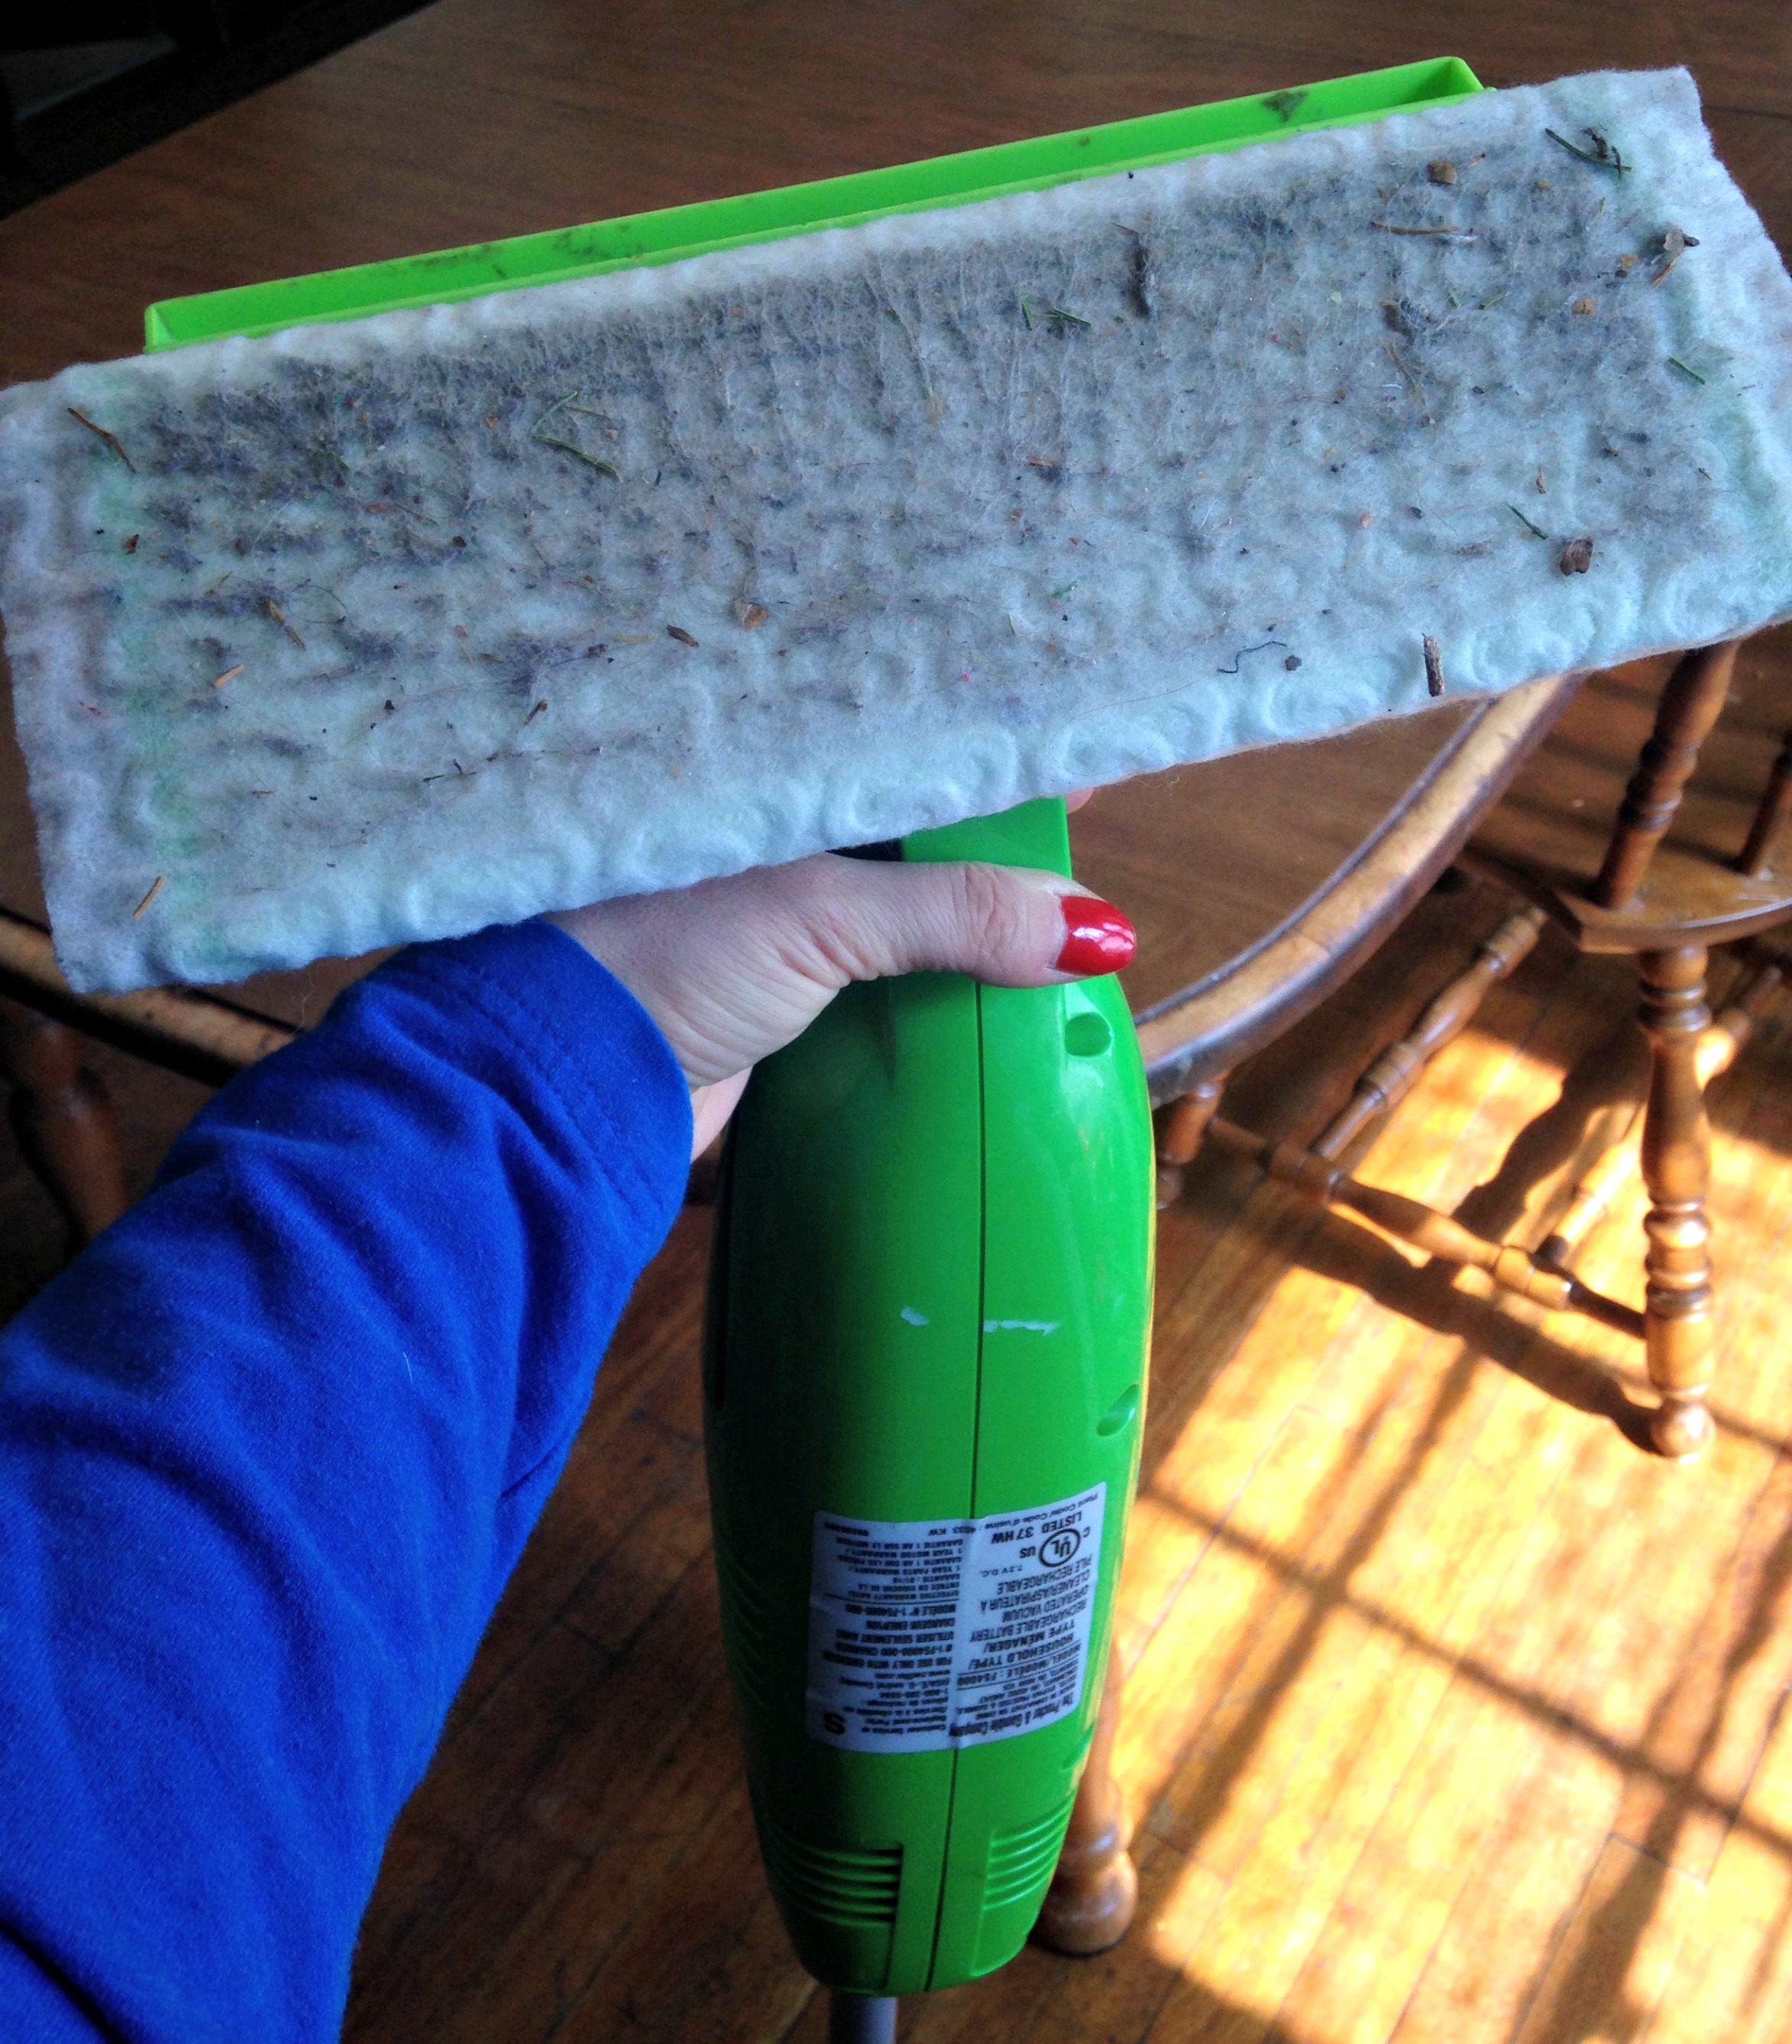
Ok, this is after I swept and mopped. AFTER. So this photo makes three things official: We are the dirtiest family on the planet, pine needles are the herpes of plant life, and CVS Total Home Dry Sweeping Cloths RULE!

Next on my cleaning journey (doesn’t that sound Oprah-like? I am sure if Oprah ever had to clean, she would say she was on a cleaning journey. So.) I moved to the kitchen. One thing I am not good about is wiping down my beautiful kitchen cabinets, which often fall victim to independent children who can get their own snacks and drinks. While this is a good thing, it sometimes results in chocolate syrup on my cabinets.

CVSClean3
Exhibit D. Chocolate.

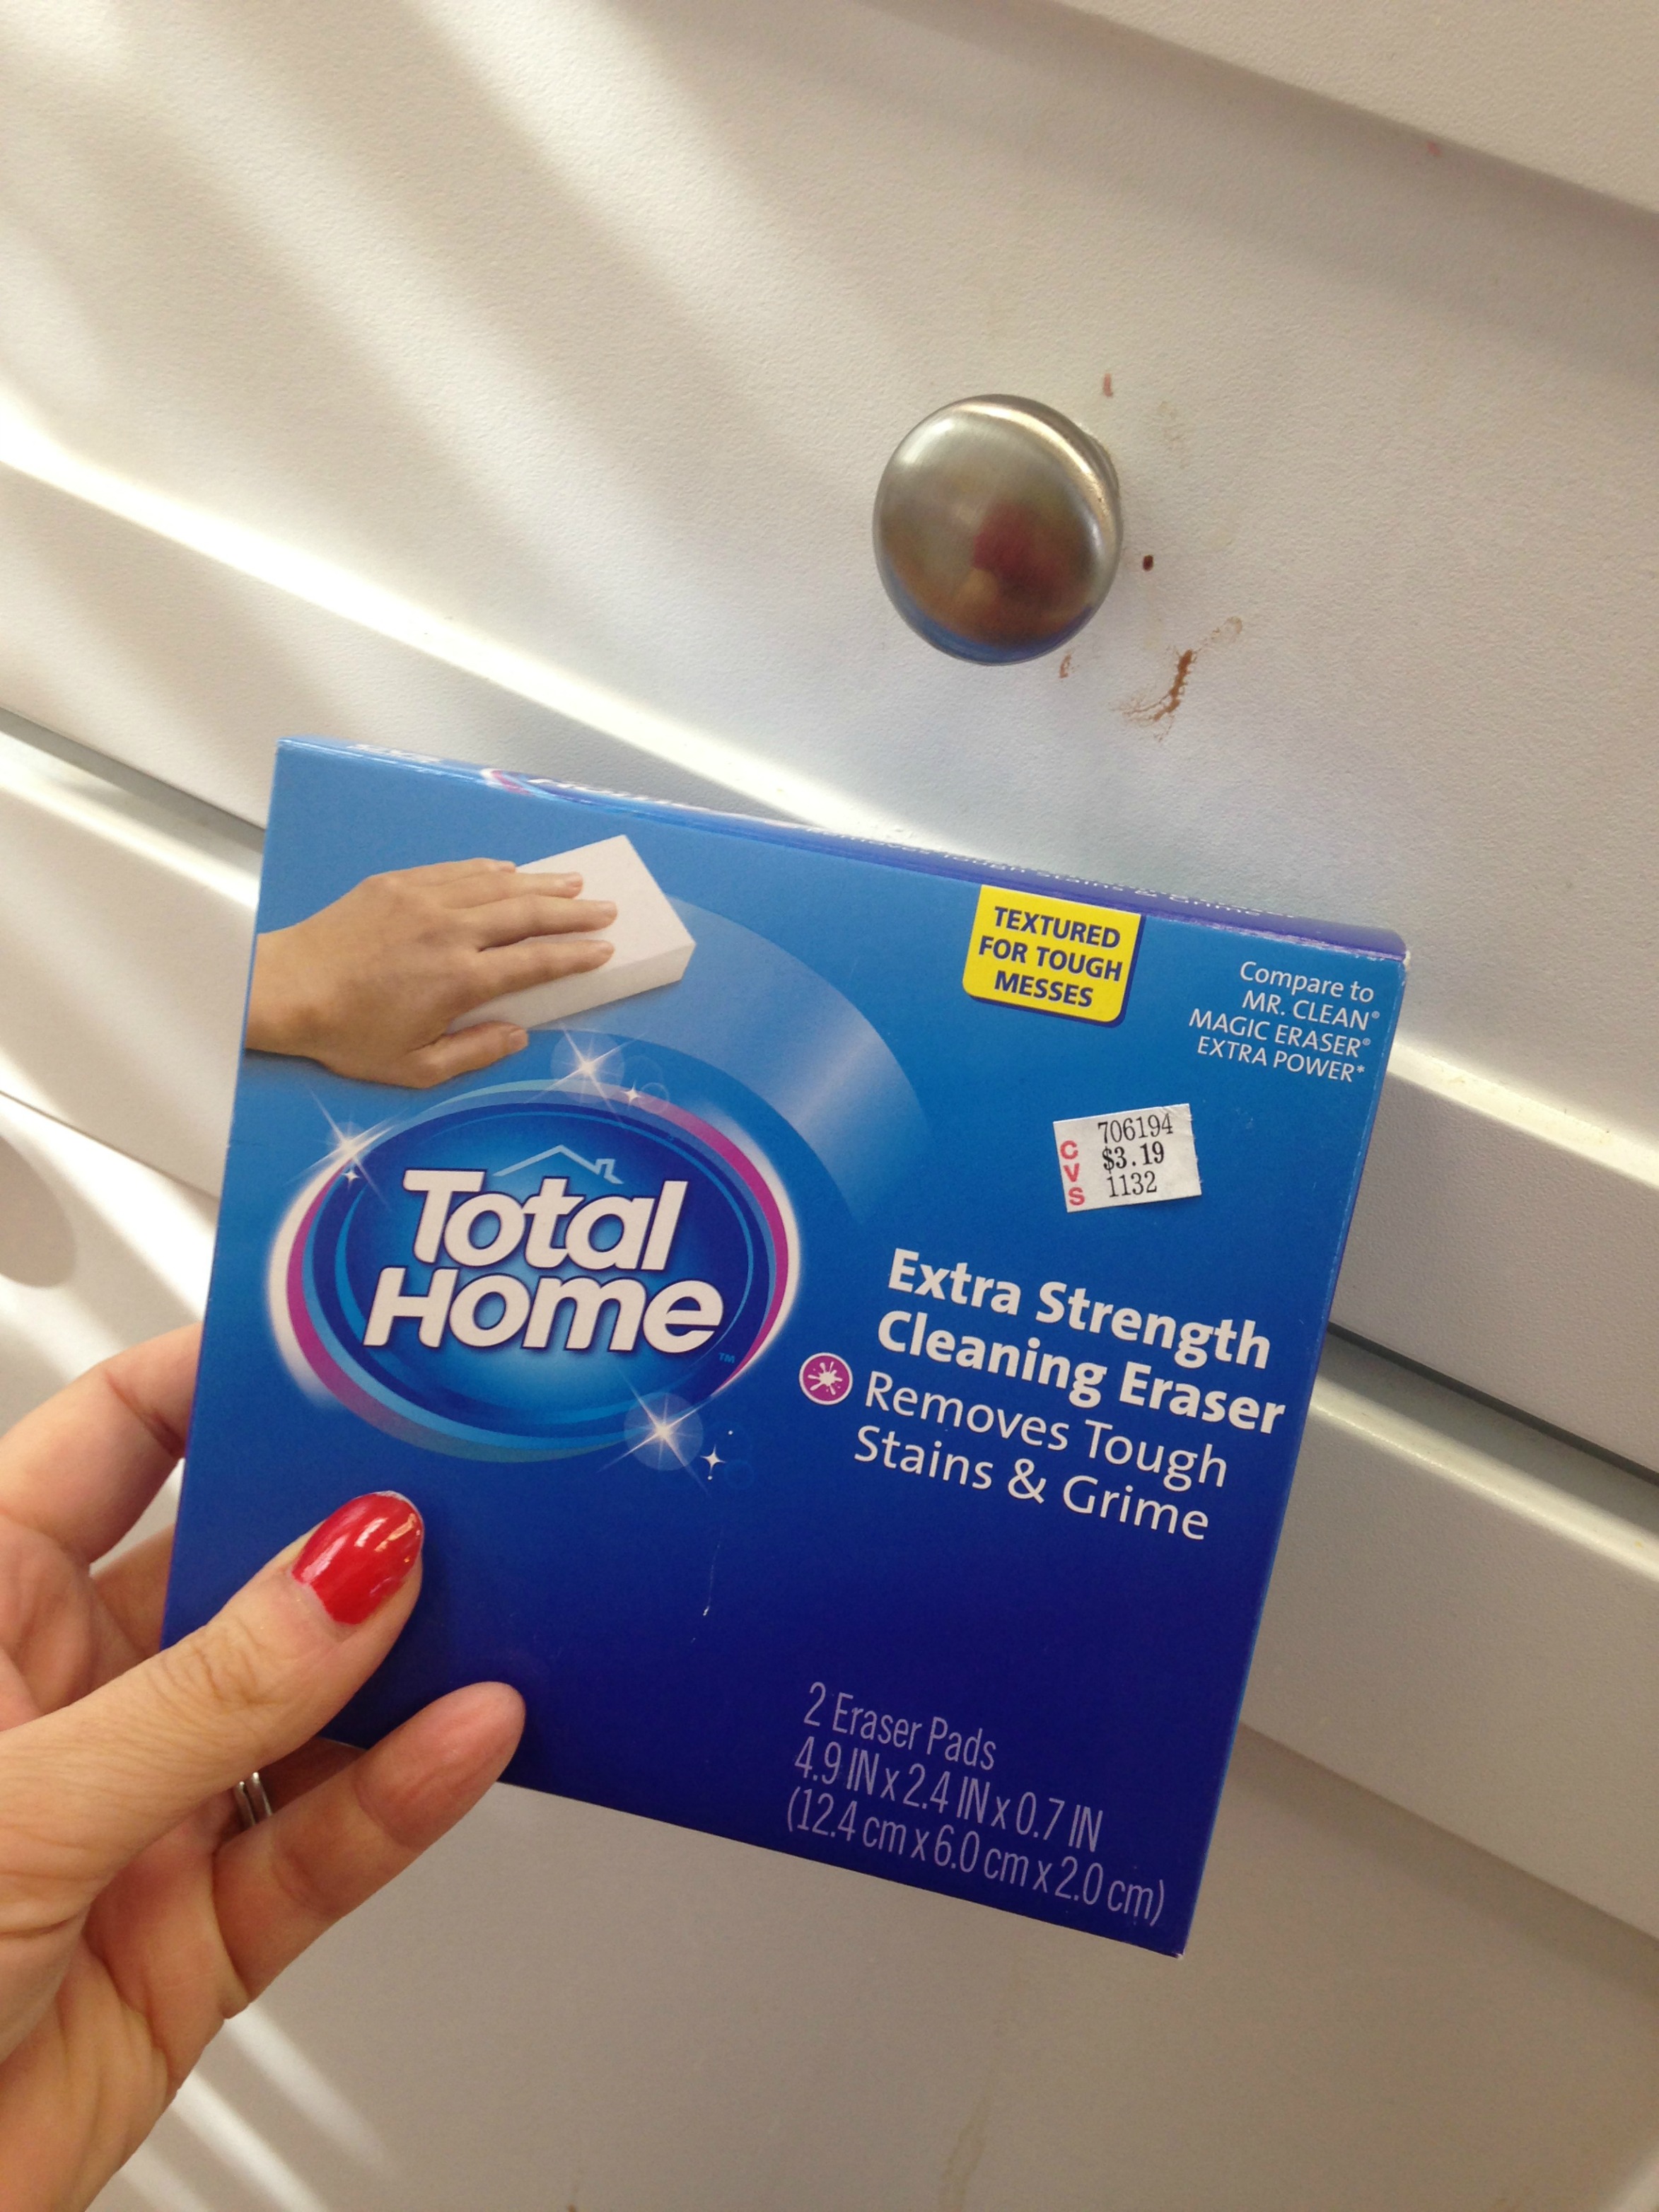
To tackle this particular mess, I used Total Home Extra Strength Cleaning Eraser. I got it wet and went to work on those sticky stains on my cabinets which had been there for who-knows-how-long! Check out their performance:

Total Home Cleaning Eraser = winner!

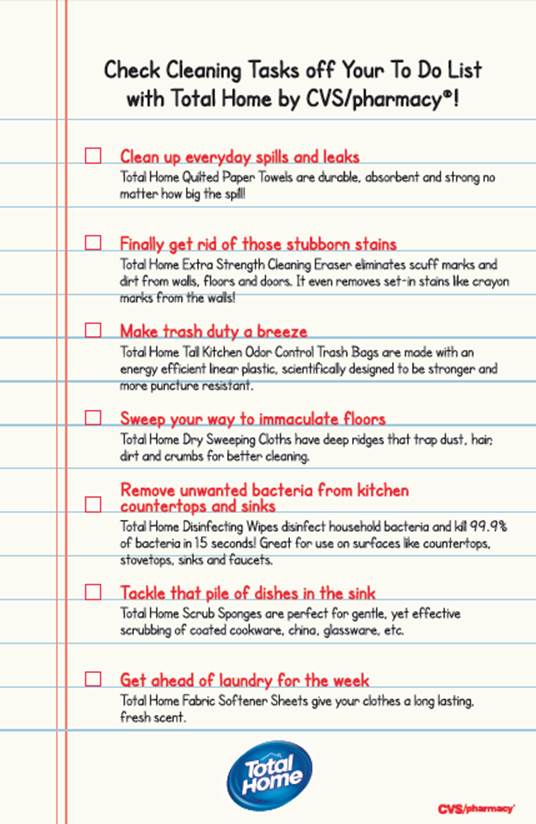
I tested out a few more products and loved them – including a long-time favorite of mine, Total Home Kitchen Trash Bags, I have loved those for years. One of my favorite CVS brand products! Don’t worry, I am not going to show you a video of me changing my trash can. But I DO want to share these CVS Spring Cleaning tips with you!

CVSClean7


In all honesty, these products did make a couple hours of cleaning much easier for me. I wish they made a Total Home product that would purge the kids’ closets! I’d buy ’em out!

I really recommend these products, and of course you guys know I am a huge fan and user of the CVS ExtraCare program, so when you head in to get supplies for spring cleaning (or the allergies that come with it, heh.) make sure use your ExtraCare card to get great savings! (AND check your ad or myWeeklyAd online to see what ExtraCare Bucks deals you can pick up. You guys know I love my ECBs!) Pick one up for free if you -gasp!- don’t have one (really if that’s the case I am shaking my head at you) and always stop at the coupon scanner, i.e. the Magic Coupon Machine before you shop to get sweet coupons. In short, make me proud (I’m looking at you, Emily)!

Well, I am totes worn out from that cleaning spree so I am going to pop a Mountain Dew open and reward myself, natch. While I’m vegging, I’d like to know – what’s your least favorite part of spring cleaning? (If you love it, I do NOT want to hear about it, ha!)

Post to Twitter

Cooking Fail. Again.

First of all, let me say THANK YOU for all the great advice you gave me about Kate’s room – the comments on my post were fantastic.

And now on to more failures in domesticity.

Wednesday night’s dinner was a disaster with a capital D. (Except I’m not going to capitalize it because it’s not a proper noun and capital letters used for emphasis drive me insane. But you know what I mean.)

Let me preface this by saying that on Wednesday, I didn’t walk in the door until 7:45 p.m. That is where the disaster began – it’s not a good idea to try complicated (or apparently even simple) recipes after a long day of work, softball practice, and a trip to the grocery store. Those nights should be designated for peanut butter and jelly sandwiches or something. But who am I kidding – every night is busy! And every night can’t be pb&j night. Can it? That is something to consider. I’m pretty sure I’d be fine with eating that for dinner all the time, throwing in pizza night every once in a while. Which makes me again ponder my reasoning for torturing myself trying to learn how to cook.

But I digress.

My grand plan was to make the Pioneer Woman’s BBQ chicken pizza. Now before you all freak out on me for attempting one of PW’s recipes, let me say that I made the recipe a couple weeks ago and it was delicious. I didn’t even screw it up! The recipe actually makes a double batch, so I had frozen the dough, chicken, and red onions, and had cheese and fresh cilantro ready to throw on it.

Nothing to it!

At least there shouldn’t have been anything to it, but of course this is me we’re talking about. As I mentioned, I had made the dough a week or so earlier and froze one portion of it, which I put in the refrigerator to thaw that morning. Smart, huh? Theoretically, yes. In practice, no. Because I am an idiot, I prepared the dough for freezing by wrapping it in wax paper and putting it in a ziploc bag.

Why exactly I thought pizza dough and wax paper were a good mix is pretty much beyond my comprehension, because on June 9, 2010 I posted this to Facebook:

Yet another cooking #FAIL... I had the bright idea to roll out my pizza dough on wax paper. Didn't work out so well.

Yet that didn’t cross my mind when I put yet another unsuspecting glob of dough onto wax paper.

SO.

When I tried to unwrap it to prepare the BBQ chicken pizza on Wednesday night, I found that the moisture in the dough had seeped into the wax paper, making it more the consistency of wet tissue paper. Which left my dough with a tasty coating of wax hanging on for dear life.

I was picking pieces of wax out of the dough when I heard Andy on the phone ordering pizza from people who actually know how to make it.

So I tossed my creation into the trash can and despite the fact that my husband could tell I was *thisclose* to completely losing my shit and was begging me to take my iPad and sit on the couch for a while, I decided to move on to my next culinary task of the night – the Heavenly Chocolate Cake Roll from Smitten Kitchen.

As you may know, it is currently Teacher Appreciation Week, and I had signed up to bring in dessert for the teachers at Sam’s school on Thursday. I thought since I’d be baking anyway, I’d also make one for Kate’s teacher. I was certain they’d, well, be in heaven while eating the heavenly cake roll.

As it turns out, I was in hell.

I had perused the recipe prior to that time and I thought I could handle it. I mean, I can make pumpkin rolls, so surely there’d be nothing to making their chocolate cousin. But as it turns out, I had apparently scanned the pictures in the recipe and had failed to read the list of ingredients and/or instructions on how to actually construct this thing. As I set out all the items the recipe called for, I realized that it didn’t make mention of any flour. I must have read the list 14 times trying to find where the flour was because it is a cake and cake has flour.

There was no flour.

So I started to read the instructions.

Preheat oven to 350°F. Butter or oil a 10-by-15-inch shallow baking or jellyroll pan. Line the bottom lengthwise with a piece of waxed or parchment paper that extends up the short sides one inch.

That part I could handle.

Melt chocolate with water or coffee in a small saucepan over very low heat until it is 75 percent melted. Remove from heat and stir until the remaining chocolate is smooth. Set aside to cool slightly.

The “75 percent melted” thing had me a little concerned – how does one measure the percentage of meltedness? I decided I had better read on before melting anything.

Beat egg yolks with an electric mixer until pale and creamy. Add sugar gradually, and continue to beat until yolks are pale and ribbony. Gently stir the chocolate into the yolk mixture.

Wait, what? I’ve never seen a ribbony egg. I was starting to panic.

In a clean bowl with clean beaters, beat egg whites with salt until they hold stiff peaks. Stir 1/4 of egg white mixture into the chocolate-yolk mixture to lighten it. Fold the remaining whites into the cake batter in three additions. Pour batter into prepared pan and smooth top. Bake in preheated oven for 15 minutes, or until cake layer feels dry (but very soft) to the touch and a toothpick inserted into the center comes out clean. It will still seem a little underbaked.

That’s the part where I finally decided there was no way I would be able to do this. Cleaning the bowl and beaters seemed like a lot of trouble and the part about putting the egg whites into the chocolate yolk mixture sounded like it required someone with four hands. And really – I was supposed to put EGGS and CHOCOLATE into the oven and somehow it was magically going to turn into a cake?

Where was the FLOUR?

So I admitted defeat.

I turned to Andy, who had a slightly panicked look on his face, and said “I can’t do this.” He said “Thank God” and ushered me to the kitchen table where our delivery pizza was waiting.

The next day, I delivered chocolate covered Oreos to the teachers – presented in a Martha Stewart-esque manner… in the box that said Kroger Bakery.

Maybe next year.

Post to Twitter

Desperate Times…

Let me just say that I am extremely embarrassed about what I’m about to do. This is akin to posting a picture of myself in a bathing suit. (Ok, it’s not that humiliating. But almost.)

I am about to show you pictures of Kate’s bedroom.

It is the most embarrassing room in my house.

It is a disaster, and I don’t know what to do about it… I need help!!

It turns out, I’ve done this before – here’s a post from March 2009 where I asked for tips on redecorating her room for her 5th birthday. I had completely forgotten about it. My goodness, it looked better then. That is a sad state of affairs.

Ok, here’s the deal.

*cringing with shame*

Here’s what you see when you walk into her room:

Lovely, isn’t it?

The dresser drawers are long and skinny, and they get stuffed so full that she can’t see what’s in there and so she roots around and everything gets wrinkled and it drives me nuts. So then I pile her clean laundry on top, which drives me even more nuts. That wall is also the most open space in her room, and I wonder if we wouldn’t be better served by having a taller dresser or… something.

Here’s more!

This is to the immediate left of the dresser.

The poor girl has been begging me to buy her curtains for about two years, and I haven’t gotten around to it. Those blinds do nothing to block out the light of the street lamp outside her window. Also, the windows are so low to the ground that it makes it hard to put anything under them in an organized manner. She always has 30 books on that bedside table, as well.

Moving around to the left… her bed.

We gave her our old bed when we got a new one about a year ago, and I’ve yet to buy a frame for it. Not only does this look bad, but it means there’s no space for under-the-bed storage. She also likes to sleep with 45 pillows and stuffed animals, including a fake dog bigger than her.

Next we have what is supposed to be… well, I don’t know. A bookshelf? Whatever it is, it is a dumping ground for junk.

And finally, what may be the worst part – her books.

I bought the bookshelf and the Ikea thing hoping they would help the problem, but the books are overflowing and there’s nothing to speak of in the Ikea thing, rendering it useless.

Oh, and I nearly forgot – the piece de resistance – the closet.

I really have no explanation for that.

Clearly, the first problem is that we need to go through her room and declutter. I know that – I even do that periodically. But the girl likes to save stuff and have you SEEN the amount of stuff that comes home with a first grader?

But there is more to it than that – we aren’t using the space in her room to make it as useful and organized as we can. I suspect that a large part of it is the furniture. Her bed is queen-sized, because that’s what we had, and she loves having a big bed. The dresser and bookshelf, though, aren’t all that functional. They were mine when I was a child and they are good quality so I have been hesitant to replace them, but it may be time.

Kate’s bedroom is seriously the bane of my existence (or at least the bane of my house) and I really want to figure out a way to make it better. I just really don’t know what to do.

Please, please comment – I can’t wait to hear your suggestions!

Post to Twitter